
Sponsorship logos can now be created once and reused for multiple events and pages throughout the website. This is achieved by creating Global elements which keeps the Logo and Company name consistent (as well as all design settings) while still being able to modify the type of sponsorship between different events.
1. Add an existing logo
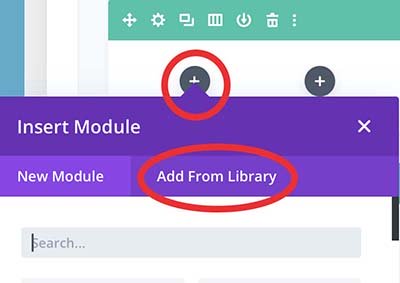
It’s important to check first to see if there is an existing company/logo so we don’t end up with duplicates in the Library.
Click the plus sign to add a new module and choose Add from Library.
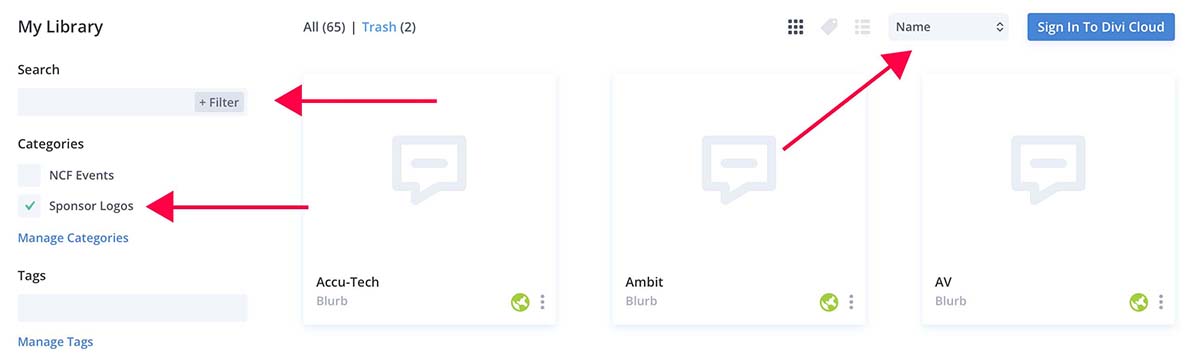
From the Library selection page search for a company/logo or select the Sponsor Logos category to refine the results. By default the company/logos will be ordered by the date they were created but you can select by “Name” in the sort options.
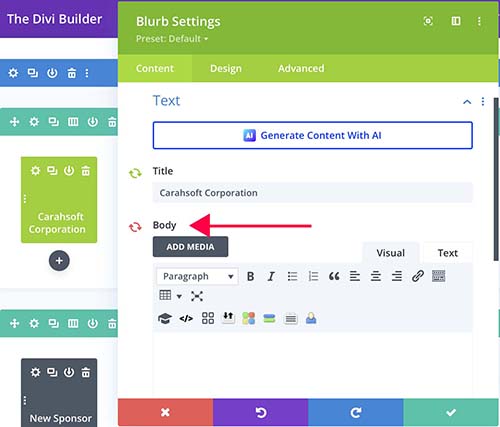
Open the settings and make sure the arrows next to the body content are red. If not, click them to make them red. Add the type of sponsorship to the body content and click the green checkmark to save.
2. Image Preparation for new logo
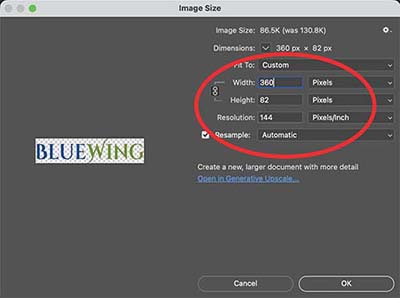
Using the image editor of your choice (Photoshop, Canva, Gimp, etc.) open the logo and resize to 360px wide at 144ppi.
Create a new file that is 400x400px at 144ppi.
Make sure the background is white.
Copy the logo and paste it into the new document and center it if it isn’t already.
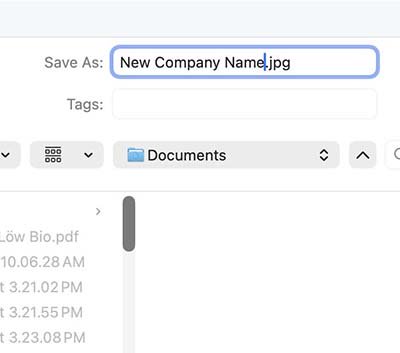
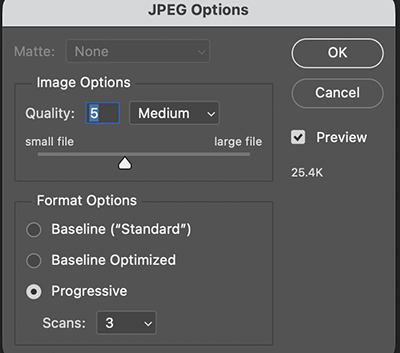
Name the Image using the company name. Save the file at 50% or Medium quality.
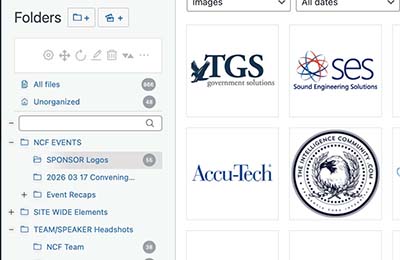
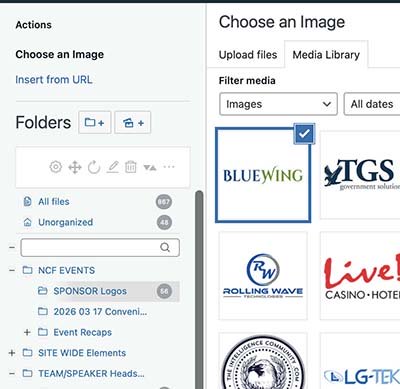
Open the Media Library in the WordPress dashboard. Navigate to and select the folder called SPONSOR Logos.
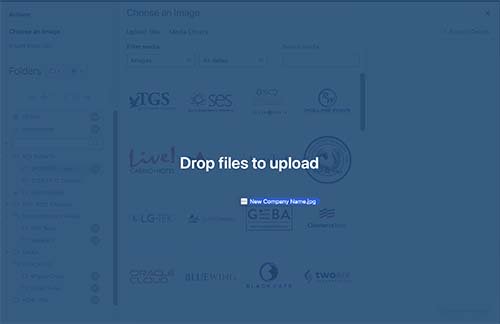
Drag and drop the image into the library.
3. Creating a new Logo Blurb
Click the plus sign to add a new module and choose Add from Library.
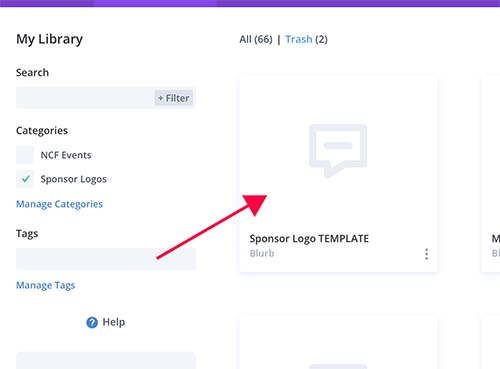
Select NCF Events and search for TEMPLATE. Select the module called Sponsor Logo TEMPLATE.
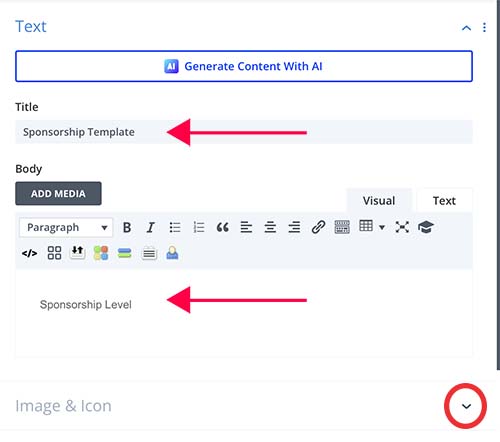
Open the settings and add the company name and sponsorship level.
Open the Image section.
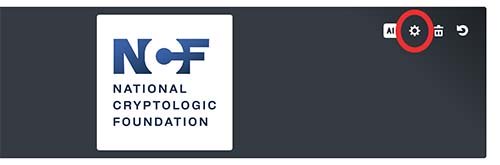
Click on the image section and use the gear icon to select a new image.
4. Saving to Logo blurb as Global into the Library
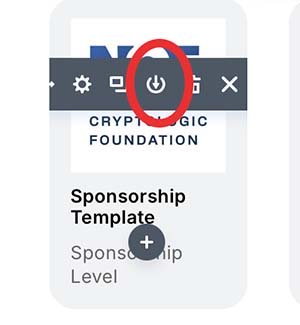
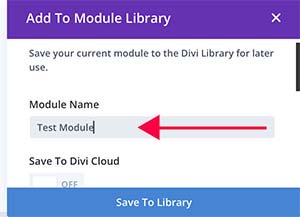
Scroll down and turn on the “Save as Global” toggle. Select the “Sponsor Logos” category. Click Save to Library.
NOTE: By default ALL the arrows will be green so open the settings and make sure you click on the arrows next to the body content to disable that content as global.
Click here for more information about Global Modules.